Everything You Need To Know About Styling A Gallery Wall

Home Styling

Want to know how stylist’s, own the gallery wall game?

Below are 10 tips that are simple to execute and will make sure your own home is on point. With a bonus practical, how-to, down the bottom.
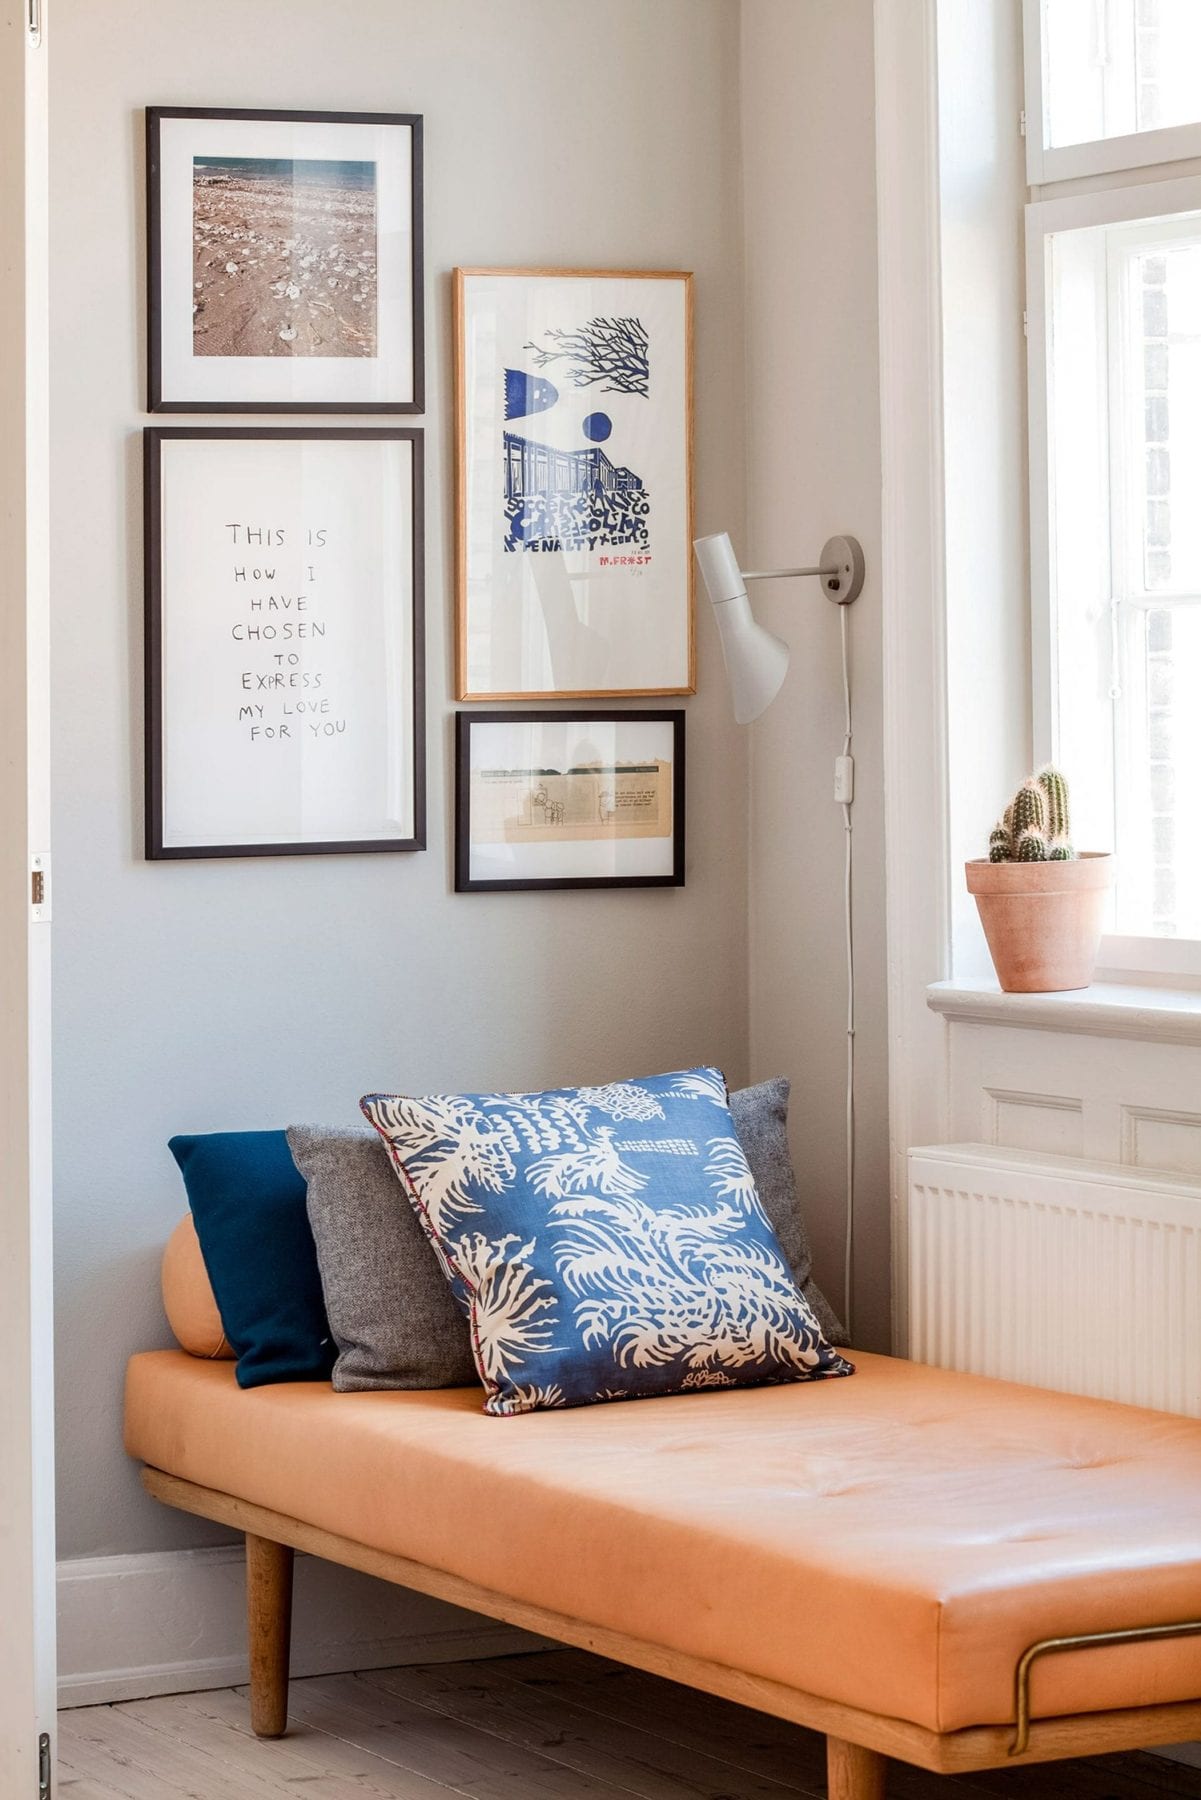
01/ Don’t Limit Your Thinking To One Blank Wall
Not everyone has a big, empty wall space to dedicate to art. Do you have a corner that’s a bit boring? Maybe a blank space above a little nook? A stark area under a staircase? Thinking outside the box wins points here.
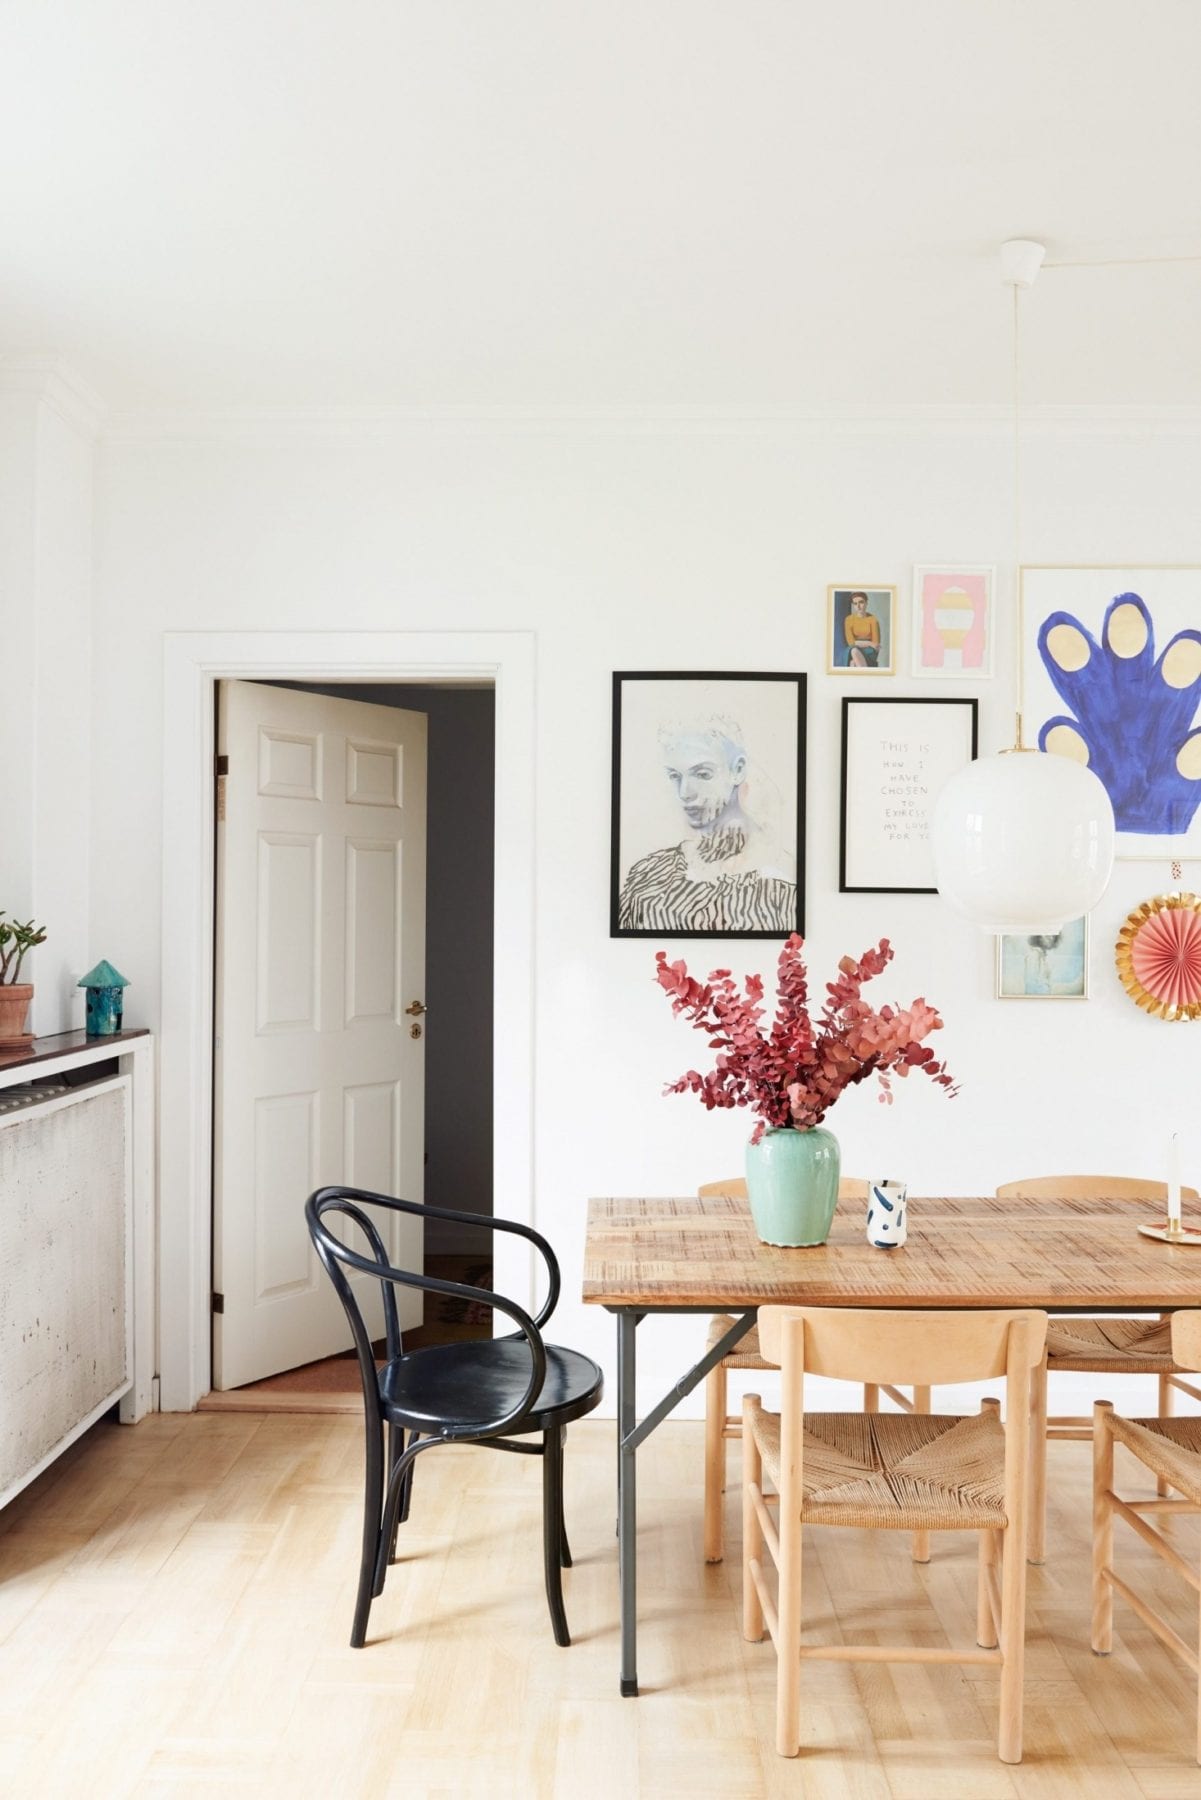
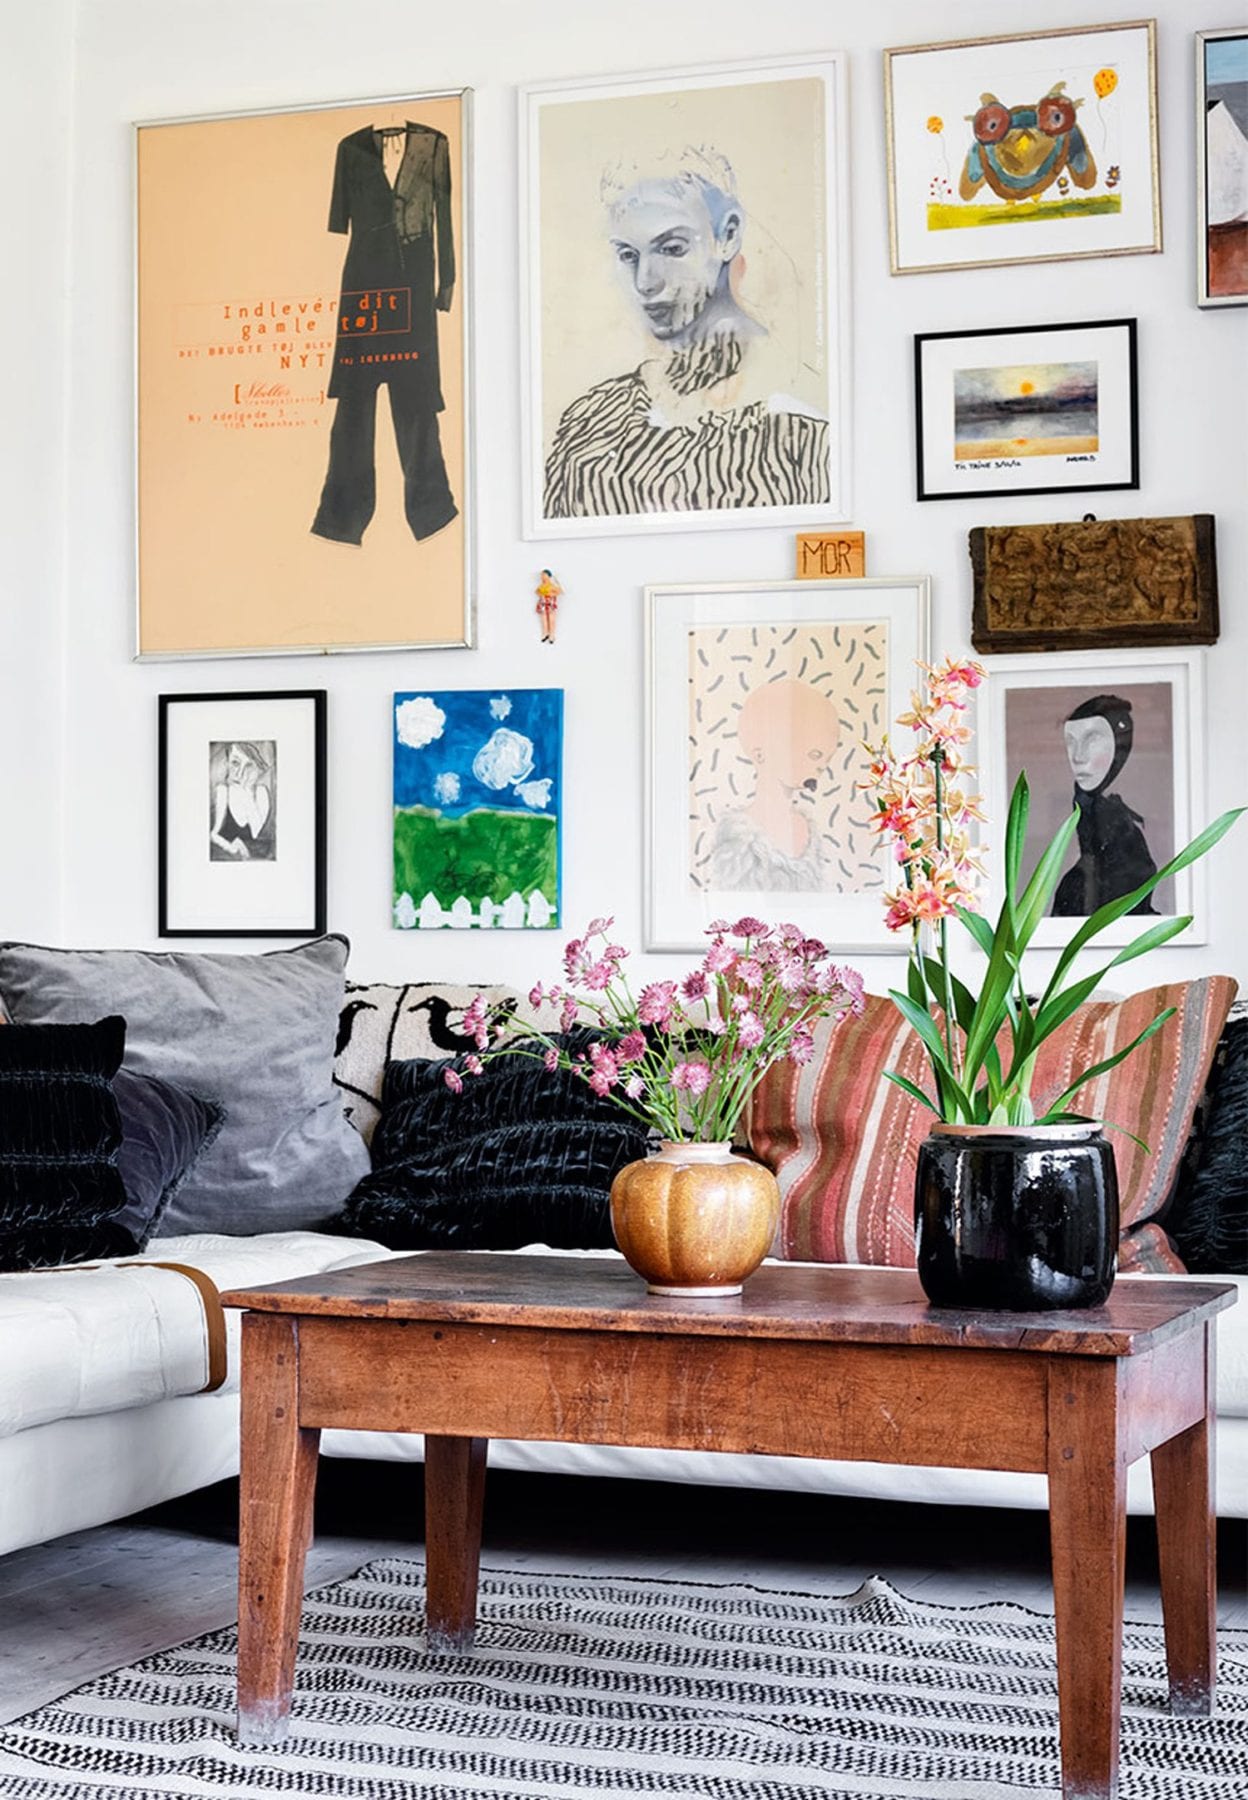
02/ Fit the Frames neatly together (like Tetris) but don’t match all the frame edges up
Home of Trine Skoller for Bolig Magazine.  Photo by Thomas Dahl.
Perfection = boring. It’s okay if some of the edges of the frames match up but overall the aim is to have everything a little off-kilter.
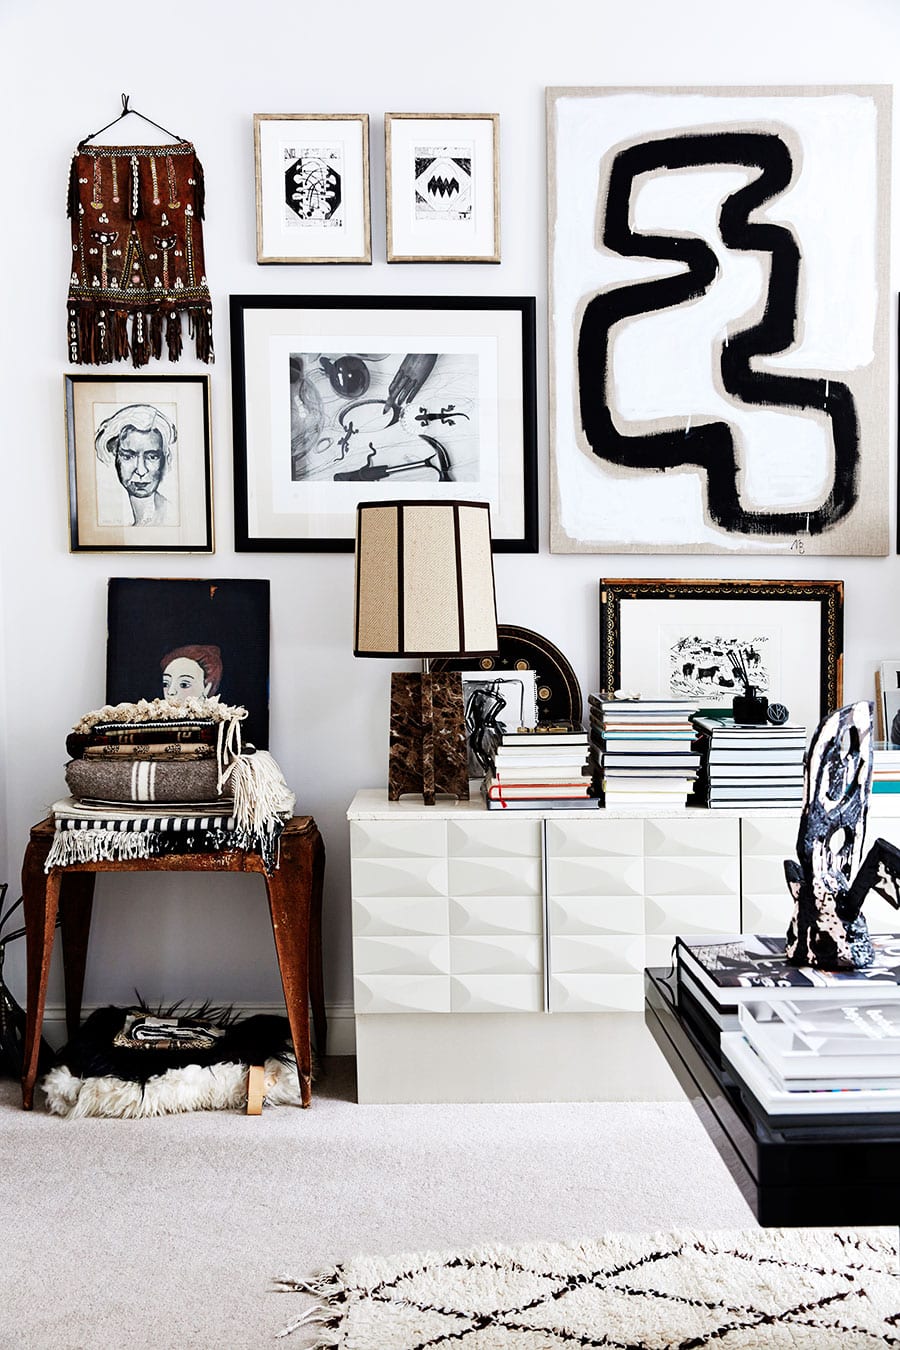
03/ Use a mix of different sized pieces
Home of Tikkie Elsøe via Remodelista. Photo by Karen Maj Kornum.
Throw in some huge artworks, some medium and some small and don’t keep everything square or rectangle, mix it up baby, throw in some round pieces if you’re brave!
04/ Mix framed and unframed pieces.
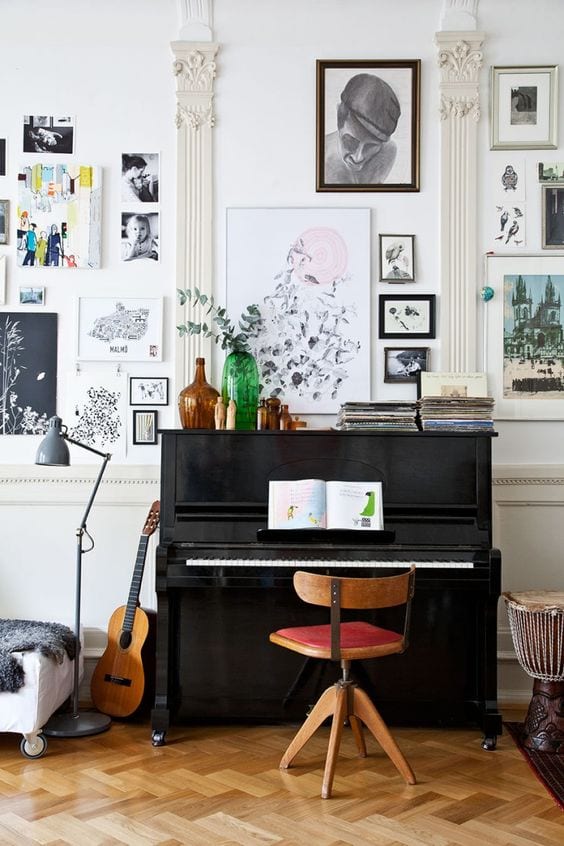
Home of Malene Birder, Via Elle. Photo by Birgitta Wolfgang/Sisters agency.
Not everything has to be framed; a canvas, a beautiful swatch of fabric tacked to the wall or a treasured photograph, is a nice way to mix it up.
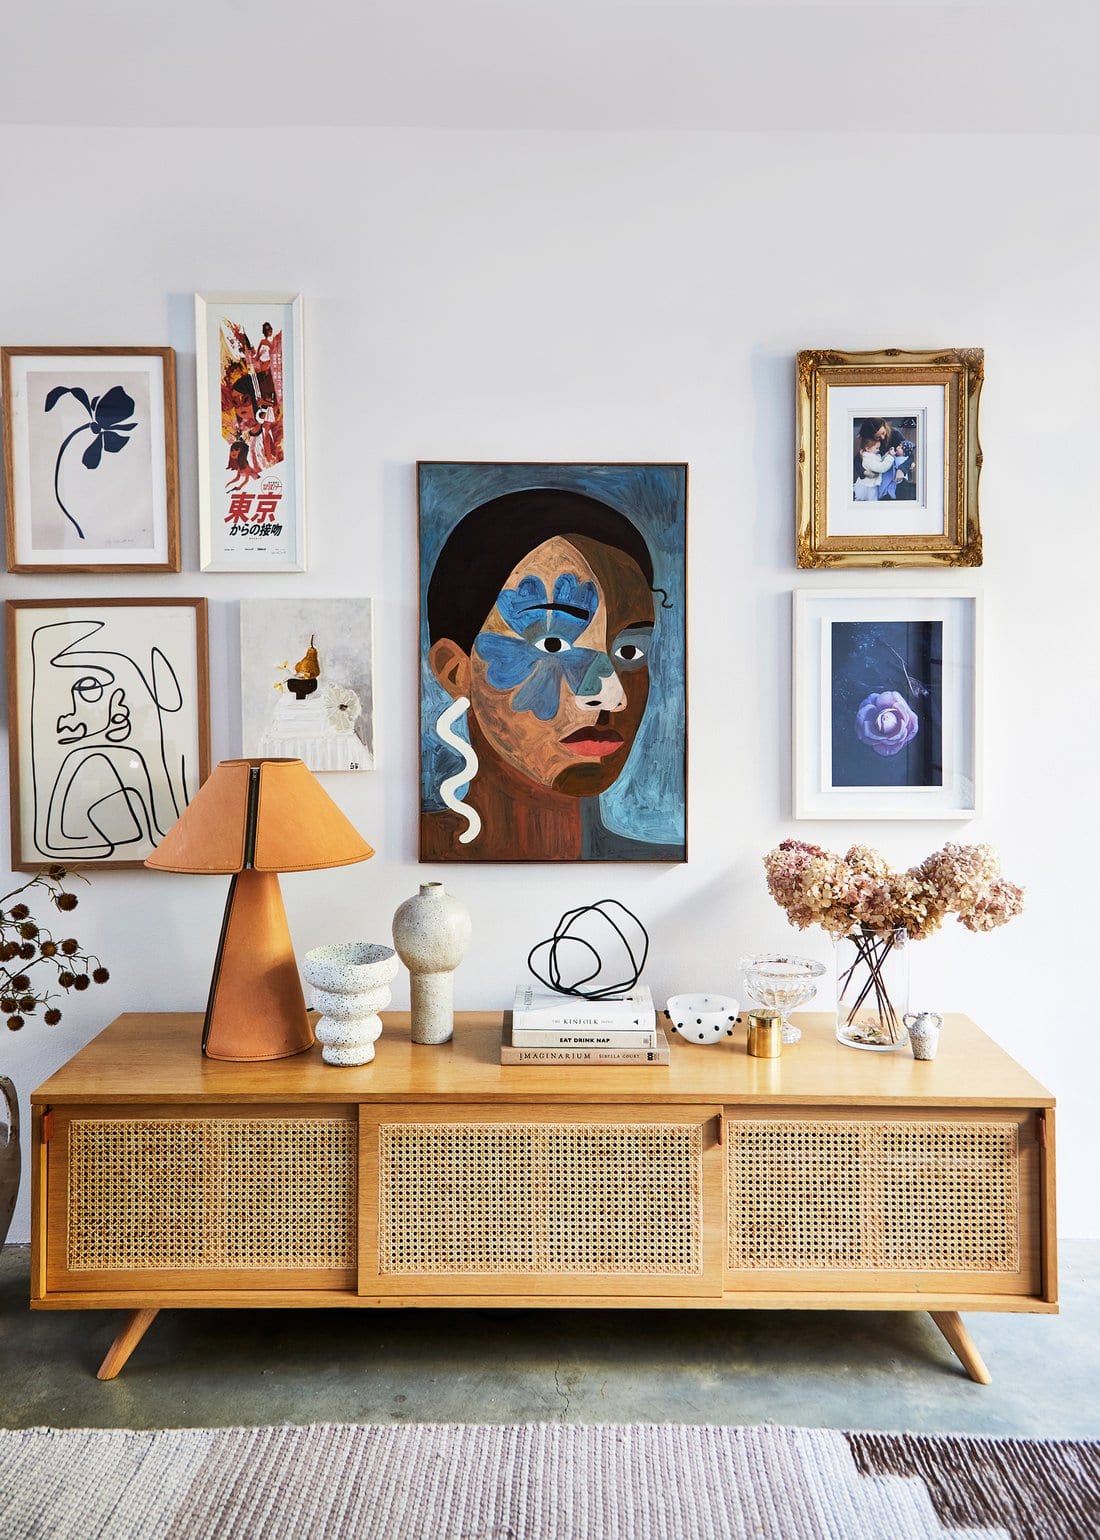
05/ Don’t overthink the frames.
Kerrie-Ann Jones for Bed Threads
They don’t need to be identical. Feel free to mix up frame thickness/colour/style – it will work, I promise.
06/ Don’t overthink the art
Collect art and photographs and objects you love. If you shop with your own taste in mind you’ll find a similar style naturally emerge which will come together on your wall.

If you’re completely lost though, here are a few ideas

+ similar pallets (e.g. neutral/brights/black & whites)
+ similar style (e.g. a wall of thrifted portraits or nudes)
+ mix of vintage and new art
+ complete clash (little bit harder to pull off but can be spectacular, include clashing colours or subject matters)

My main advice is to trust your own taste, the common element will shine through.
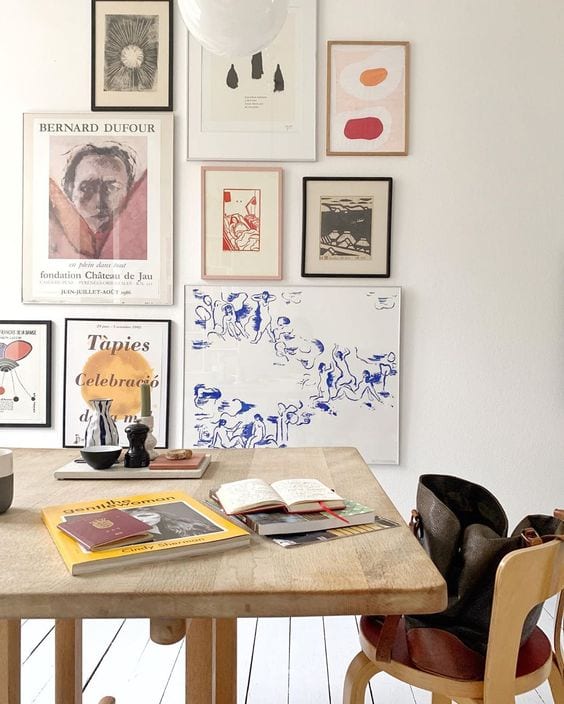
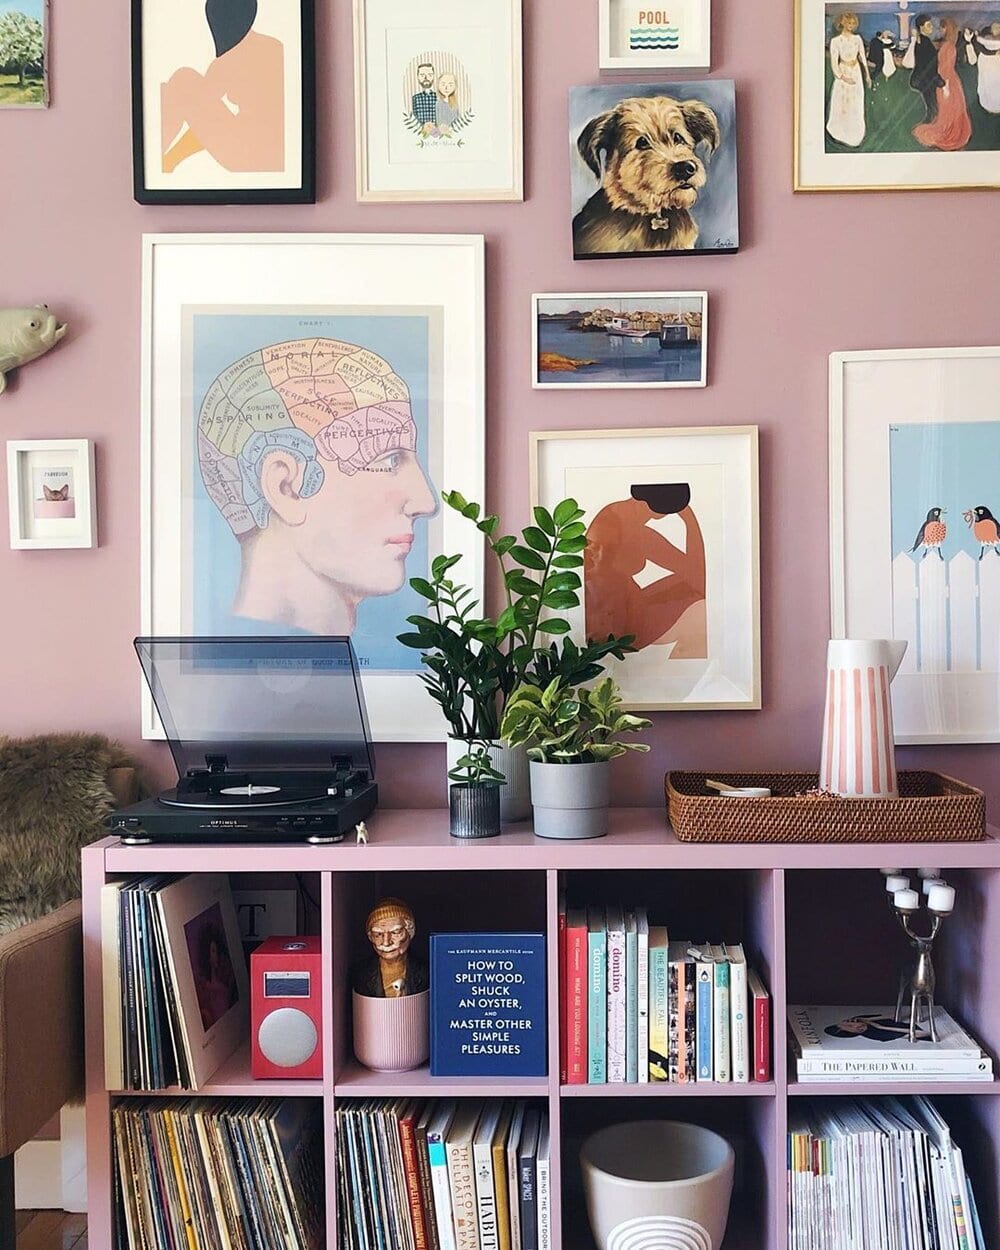
07/ Allow white, to give your eyes, some room to breath.
Freja Bak Petersen via Instagram
Whether it’s the white wall peeking through, or white amidst the artwork themselves, you’re aiming to create intrigue and beauty not visual clutter. If you see a photo of a gallery wall and you can’t quite pin-point why it’s not working there probably isn’t enough visual downtime (or tip number 10 :P)
08/ It doesn’t have to be flat.
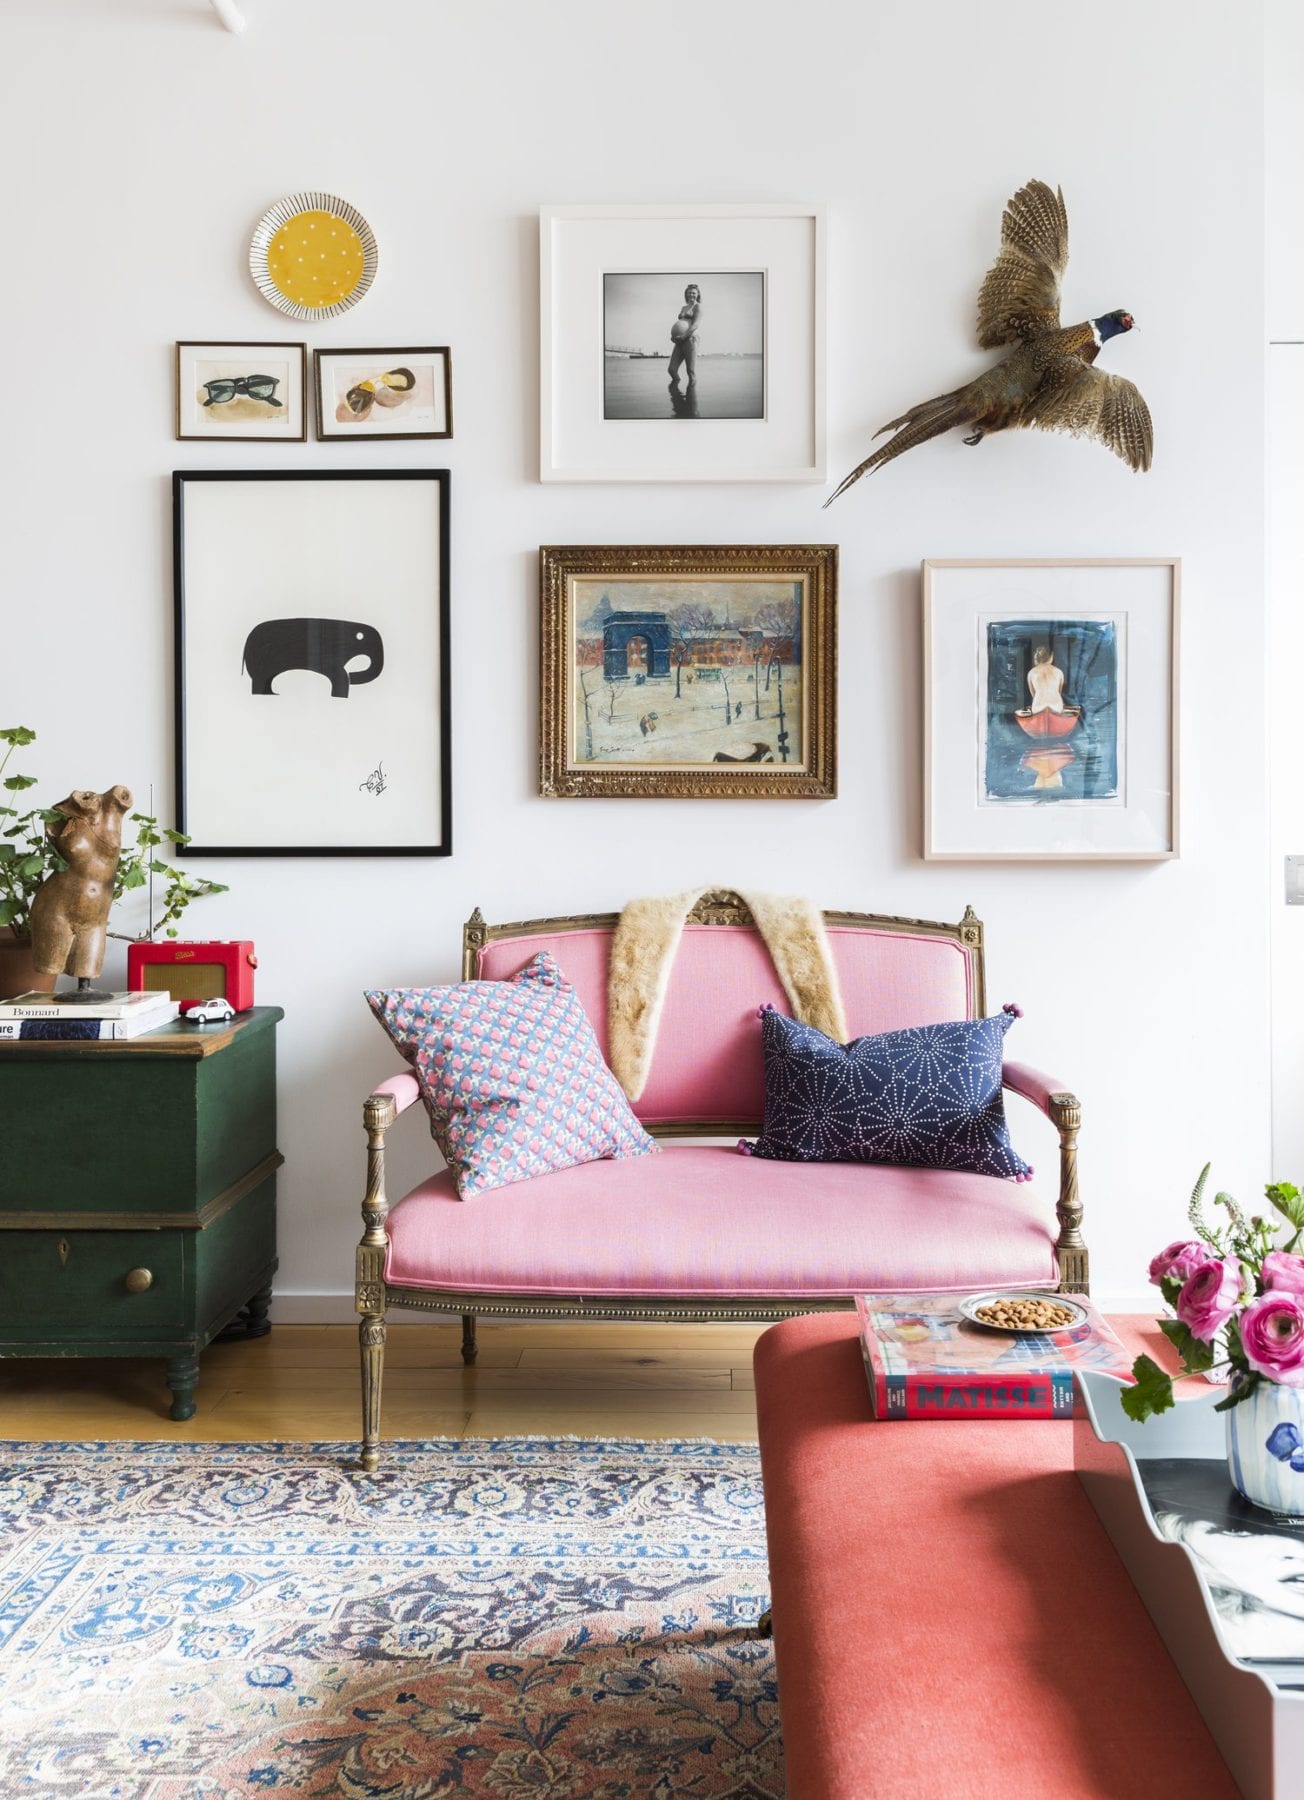
Kate Schelter’s Home Via Niki Dankner. Photo by Lesley Unruh.
A pheasant flying across your wall or favourite ceramic dish, a beautiful woven basket or a painted skateboard? Add some texture and depth for excitement – possibilities are endless.
09/ Don’t be scared of art touching the floor.
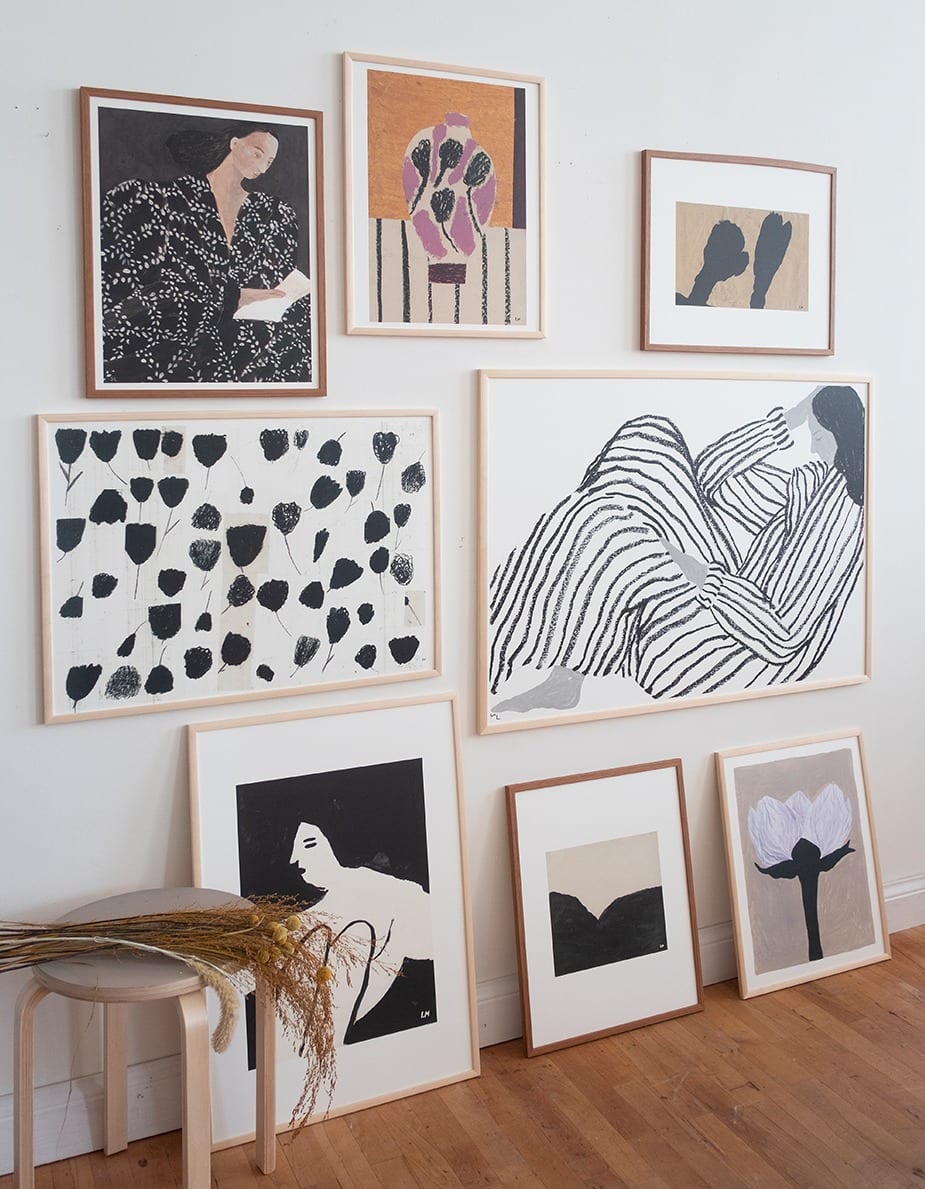
Image via Fine Little Day
If you’re committing to the gallery wall, commit all the way! Don’t be afraid to extend your gallery wall all the way to the floor.  Another idea is to rest framed art against the wall – it can definitely work! (handy for renters as well)
10/ Wonky hanging = unprofessionalism
Home of Helen Sturesson via My Scandinavian Home. Photo by Bodil Johansson.
This ones easy, a bit of blu tack in the corner will keep frames straight and professional.

HOW TO

1) Lay all your pieces down on the floor and shuffle them around until they work together. If you can snap a photo here, it will help with reference later.

2) Once you’ve arrange the pieces, get a friend to hold each work against the wall whilst you use painters tape to mask around the work.
+ A bonus tip here is to write the description of the art on the tape. You’ll be briefly removing the art and that description will help you easily locate it when you hang.

3) After taping around all the artworks – stand back. If things don’t look exactly right, do your last minute reshuffling by peeling off the tape and re-taping into a better location. Re-read the 10 tips if you’re feeling lost.

4) It’s time to hang, start with one of your central bigger pictures, match it up to the tape and hammer away. Repeat until you’ve finished and then pat yourself on the back.


Now the question is, do you need art for your wall? Our prints were made to live in a beautiful gallery wall and you can nab one for $10 over here.


Want to see what else I do? Come peek over on my insta or grab a freebie when you sign up to my newsletter below 🙂 🙂